Introduction
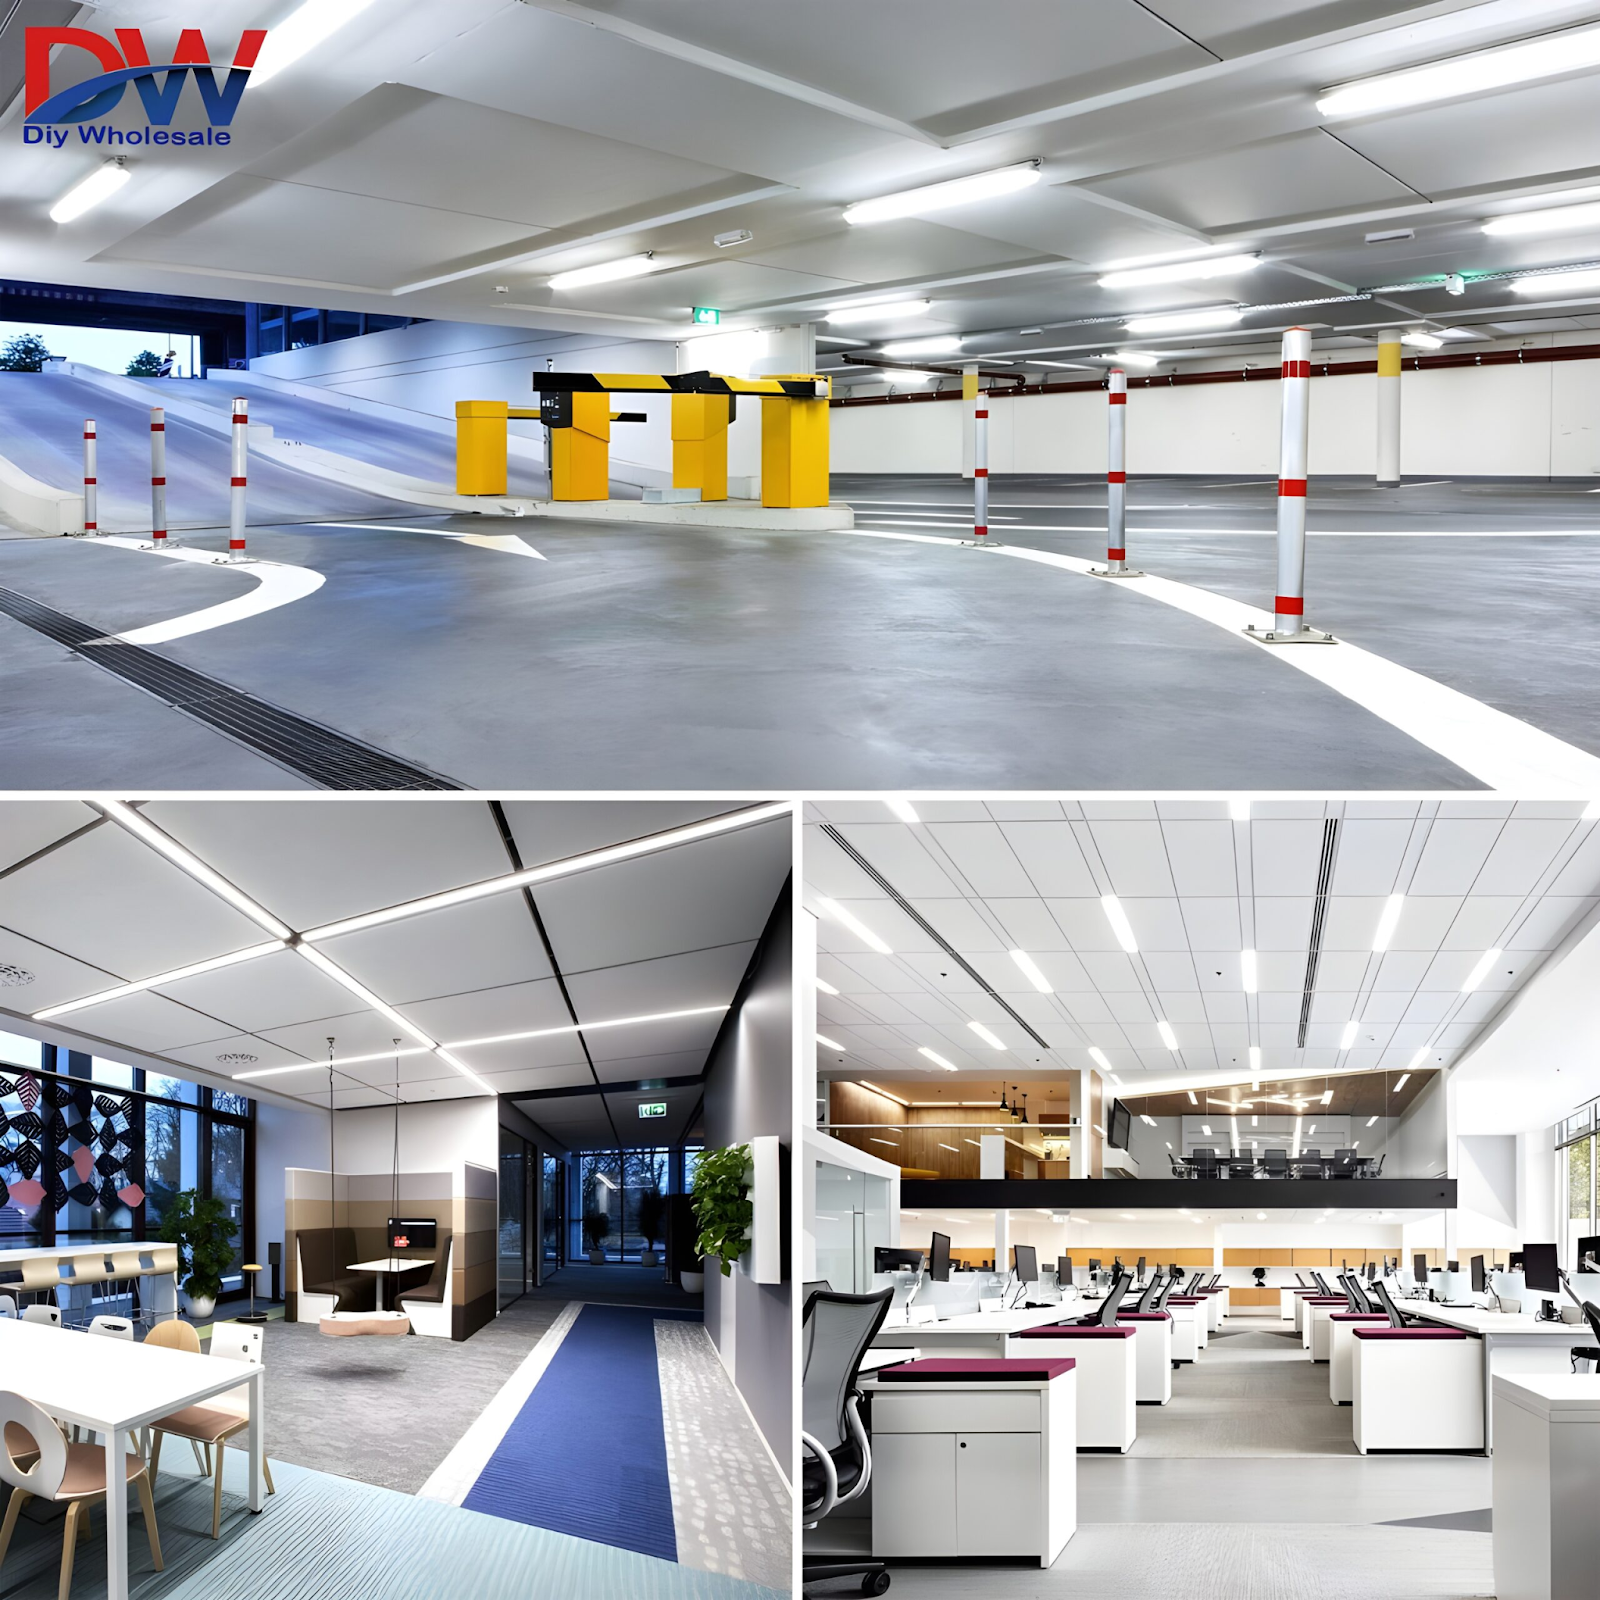
LED batten lights are now a must-have lighting option for a variety of settings, including offices, commercial spaces, garages, & workshops. They are a popular option because of their extended lifespan, energy efficiency, and strong, steady illumination.
We will easily guide you through the process of installing led batten lights 6ft with this detailed article.
DIY enthusiasts who wish to enhance their lights without hiring a professional may definitely use this guide.
Reasons why to choose led batten lights 6ft?
It’s important to comprehend why to led batten lights 6ft are the perfect option before we start the installation process. Here’s the LED’s benefits:
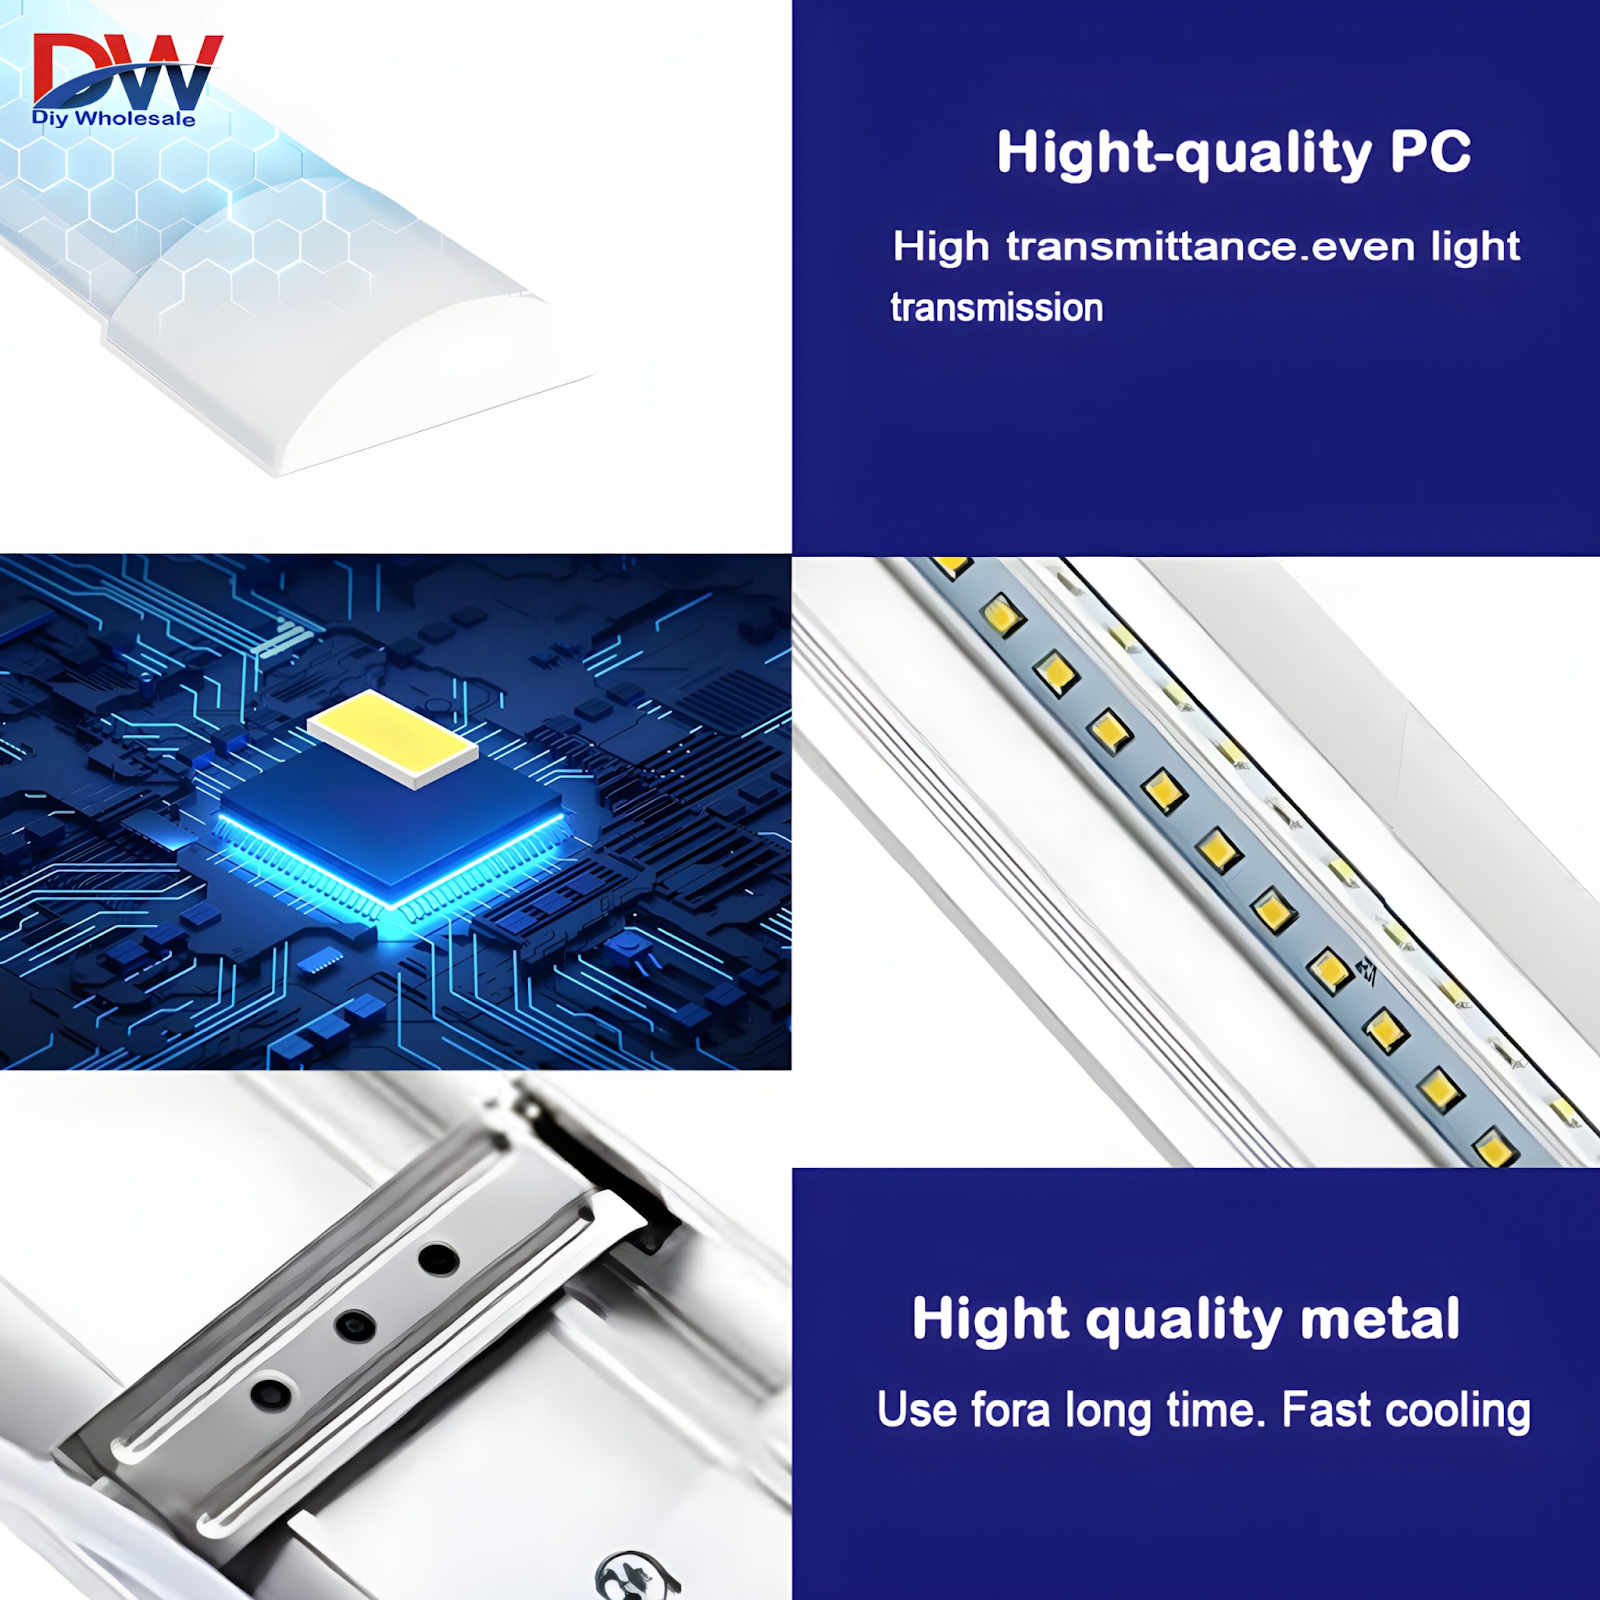
LED batten lights 6ft consume significantly less energy than fluorescent lights
• Longevity: Their extended lifespan reduces the frequency of replacement.
• Improved lighting quality: 6 foot led batten lights provide a strong, steady light that is ideal for large areas
• Eco-friendly: LEDs are recyclable & don’t contain any dangerous substances like mercury.
Required Equipment & Supplies
The following equipment & supplies are required for installing led batten lights 6ft:
• led batten lights 6ft
• Drill bits
• Screwdriver
• Strippers of wires
• A measuring tape
• Wall plugs & screws
• Step-ladders
• Electrical adhesive
• Gloves and safety goggles
Detailed Installation Instructions OF LED batten lights 6ft
1. Make Safety a proirity
When it comes to electricity, checking the safety should be your forever first step.
Make sure the power is off with a voltage tester, & put on gloves and safety eyewear to keep yourself safe while doing the installation.
2. Mark on the installation area with a marker:
Choose the precise spot where you want to place the 6ft LED batten light by using a measuring tape. Use a pencil to mark where the screws should go on the wall or ceiling.
Make sure the lines are spaced equally and at a level.
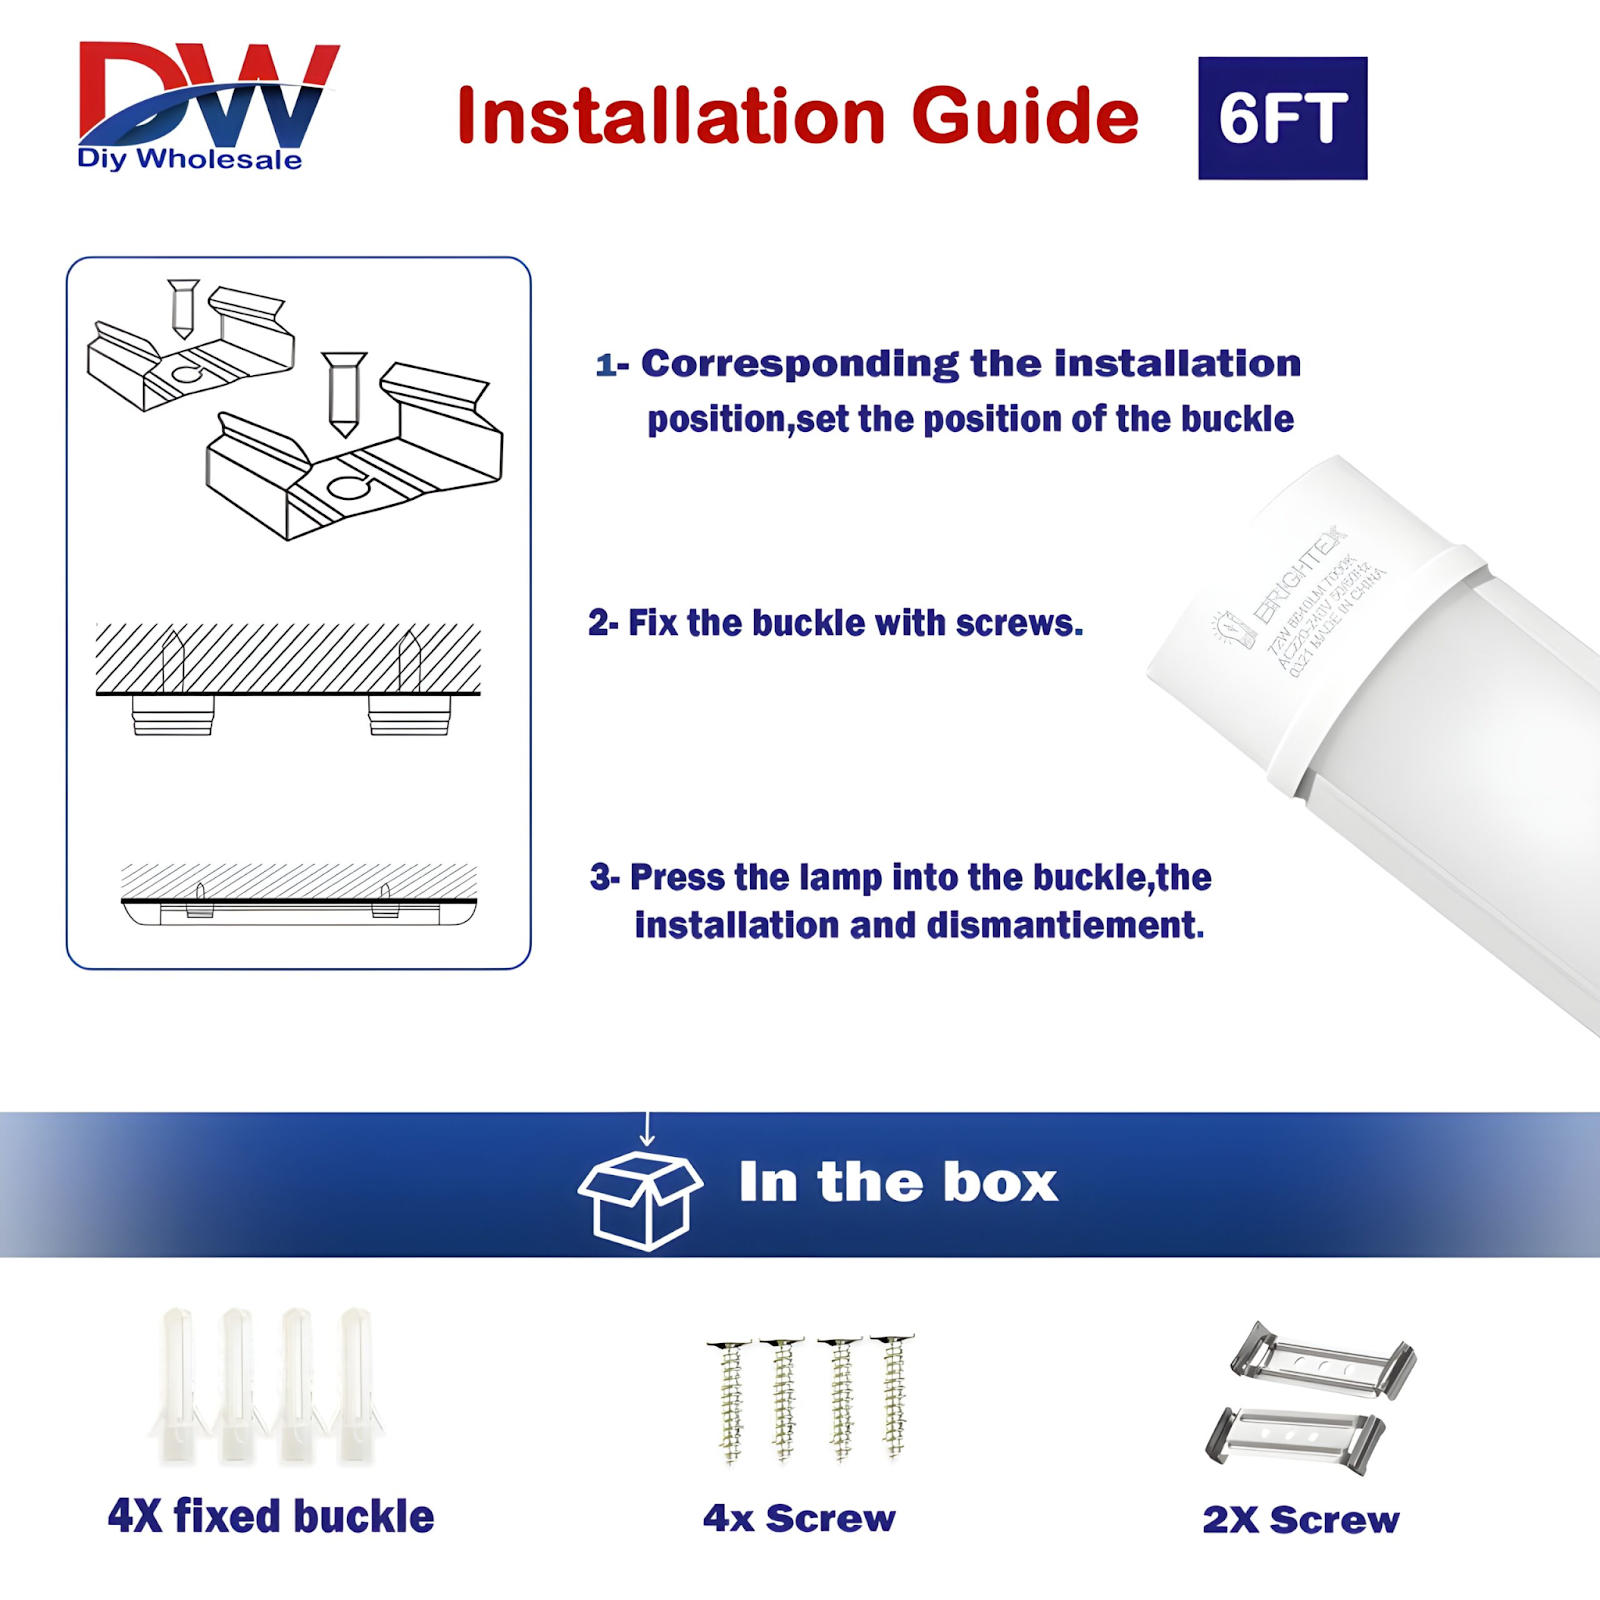
3. After using the pencil, begin drilling the mounting holes:
Make holes where necessary. Use the appropriate drill bits for the surface you are working with—wood, plaster, concrete, etc. Insert wall plugs into the drilled holes to secure the screws.
4. Install the 6-foot LED batten lights:
Make sure the mounting brackets match the holes drilled in the batten lights. Make that the six-foot-long LED batten light installation brackets align with the drilled holes. Verify that the light is level and firmly attached.
5. Attach the wiring:
Remove the insulation from the electrical wires with caution. Attach the relevant cables from the power supply to the corresponding wires on the LED batten light for the live (brown or red), neutral (Blue or black), and earth (green or yellow). To secure the connections, use electrical tape or wire connectors. Make sure that none of the cables are visible.
6. Fasten the light cover:
Attaching the LED batten light’s cover will be the easy step once the wire firmly is in the required place.
Depending on how your light fitting is made, you could need to screw it in or just snap it into place.
7. Take a close look at the lighting:
The power should be restored by resetting the circuit breaker. Test the LED batten lights 6ft by turning them on and off. In the event that the light does not come on, check the functionality of the power supply and the wire connections again.
8. Final adjustments:
This is the most important stage of all! Check to make sure the light is shining in the right place and covering the required area.
After that, make sure every screw is tight and clean the installation area.
Here are some tips for resolving any problem
Facing a problem in your 6ft led batten lights? Try the following troubleshooting guide
The power supply should be checked for weak wire connections or variances.
Ensure that the power is turned on and the connections between the wires are tight if the light does not come on.
Make sure there is no debris blocking the light and that the light cover has been cleaned.
Common Troubleshooting Advice:
Try the following troubleshooting procedures if your six-foot LED batten lights aren’t working properly
Flickering light: Look for power supply fluctuations or poor wire connections.
Light Not Turning On: Make sure the power is switched on and the wiring connections are secure.
Dim Light Output: Clean the light cover and look for any debris that may be obscuring the light.
Conclusion
These days, installing the 6ft led batten light will not only help you save a lot of money and energy, but it will also help you increase the lighting quality in the required area.
Installing this type of led becomes the easiest installation and you can safely install it following our detailed instructions which will help you to install it step by step.
Recall that regular maintenance is necessary to preserve the efficacy of your lights and that safety should always come first throughout installation.
Leave a Reply