Introduction
The energy-efficient, long-lasting, and adaptable LED floodlight is making them more and more popular for lighting outdoor areas.
Adding white LED floodlights to your property can improve its aesthetic appeal while still offering enough brightness for visibility and protection.
We will take you step-by-step through the installation procedure in this extensive guide to make sure everything goes smoothly and successfully.
Understanding LED Floodlight
What are Floodlights with LEDs?
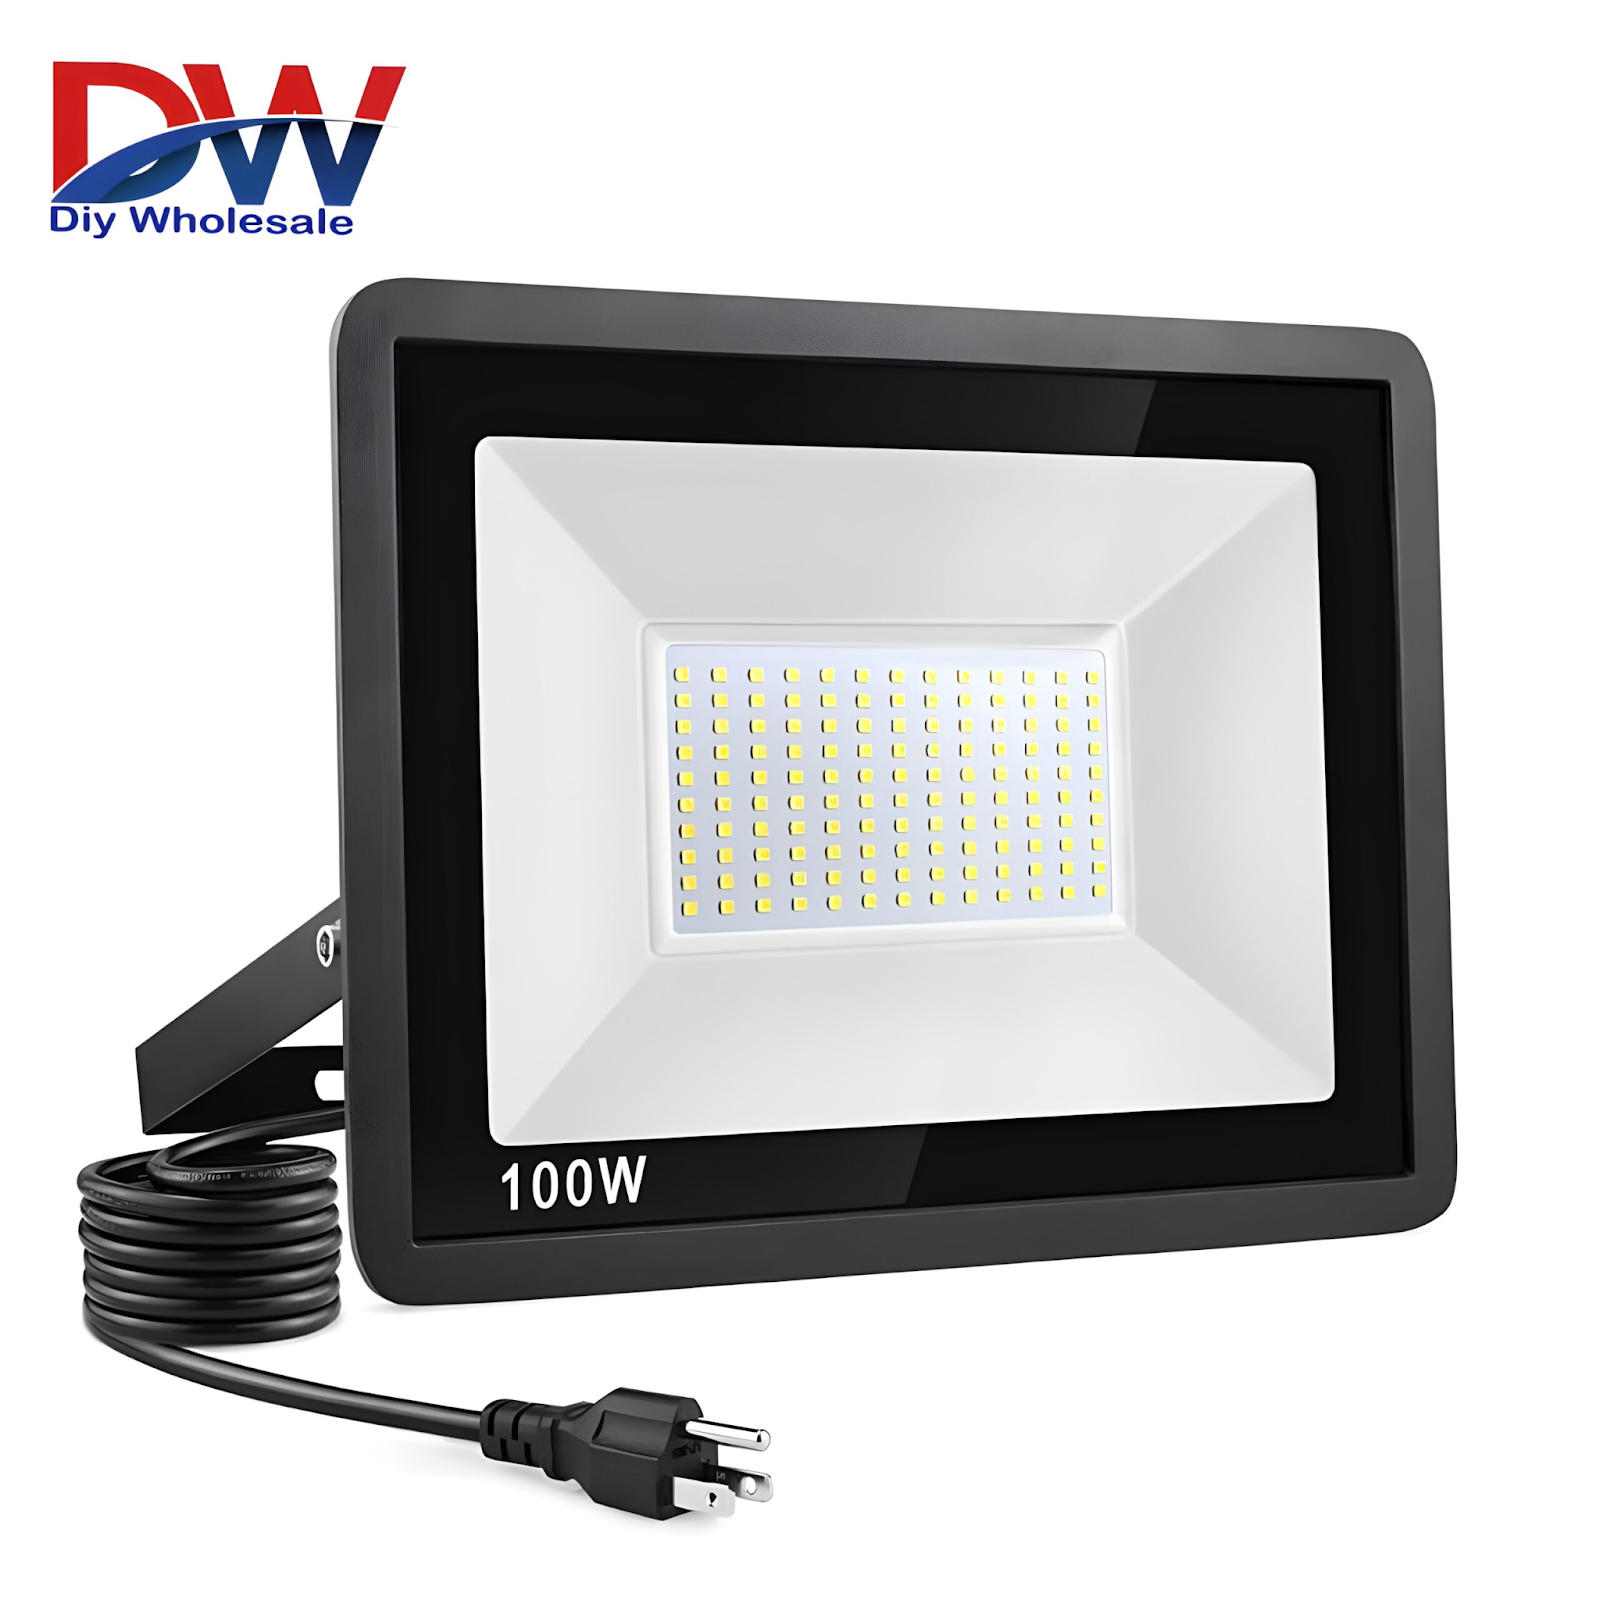
LED floodlight is a strong outdoor lighting fixture with a wide beam of light that can light up big spaces.
Since LED floodlight last longer and use less energy than typical halogen floodlights, they are an affordable and environmentally responsible lighting option.
Advantages of Using led floodlight white
The advantages of using LED floodlights in white are numerous.
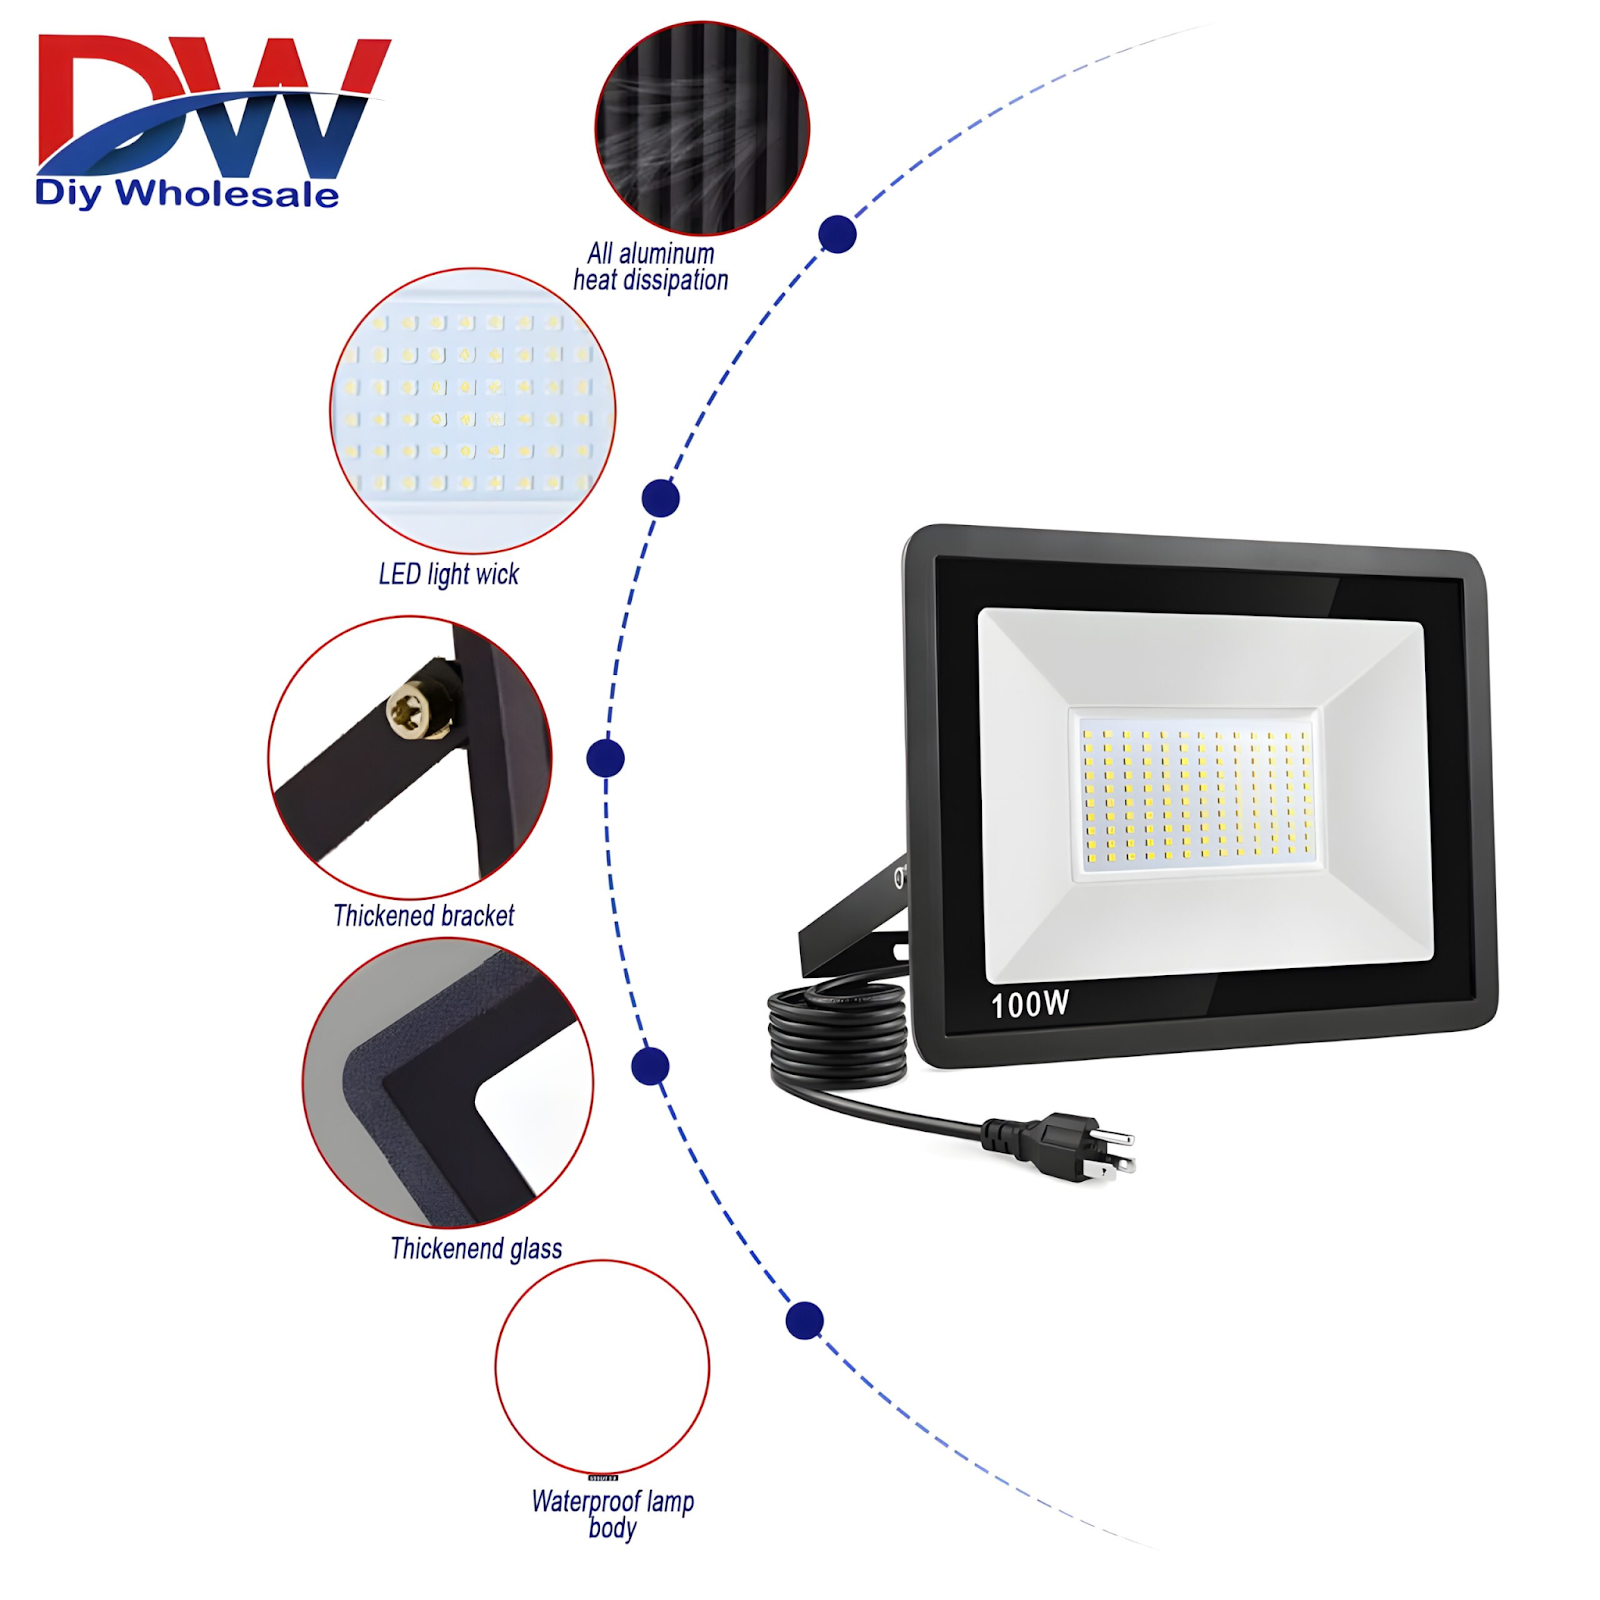
- Energy Efficiency: led floodlight white uses less energy than other lighting solutions, which lowers electricity costs and has a smaller environmental effect.
- Longevity: Compared to incandescent or halogen bulbs, LED technology has a longer lifespan, which lowers maintenance expenses and the need for frequent replacements.
- Improved Visibility: led floodlight produces white light, which improves visibility and is perfect for outdoor areas where security and clarity are crucial.
- Color Rendition: Compared to other colors, led floodlight white provides more accurate and vivid lighting due to their greater color rendition.
- Consistent Brightness: Over time, LED technology keeps brightness levels constant, reducing the possibility of flickering or dimming and guaranteeing dependable illumination.
- Environmental Benefits: LED floodlight helps to create a cleaner, greener environment by emitting less greenhouse gases and containing no toxic elements.
- Versatility: LED floodlight provides for precise control over the direction and distribution of light, enabling illumination that is suited to individual requirements.
- Durability: Because LED lights don’t break easily or vibrate easily, they are a good choice for outdoor settings where exposure to adverse weather is frequent.
- Instant Lighting: LED floodlight ensures instant visibility when needed by providing instant illumination without the requirement for a warm-up period.
- Low Heat Emission: LED technology produces less heat than conventional lighting sources, which lowers the possibility of fire accidents and makes it safer to use in enclosed areas.
How to Install LED Floodlight
For the purpose of installing LED Floodlight, adhere to following detailed instructions:
Step 1: Disconnecting the power
Turn off the electricity to the area where the floodlights will be installed before starting any electrical work.,Usually, to accomplish this, turn off the circuit breaker or take out the fuse for the lighting circuit.
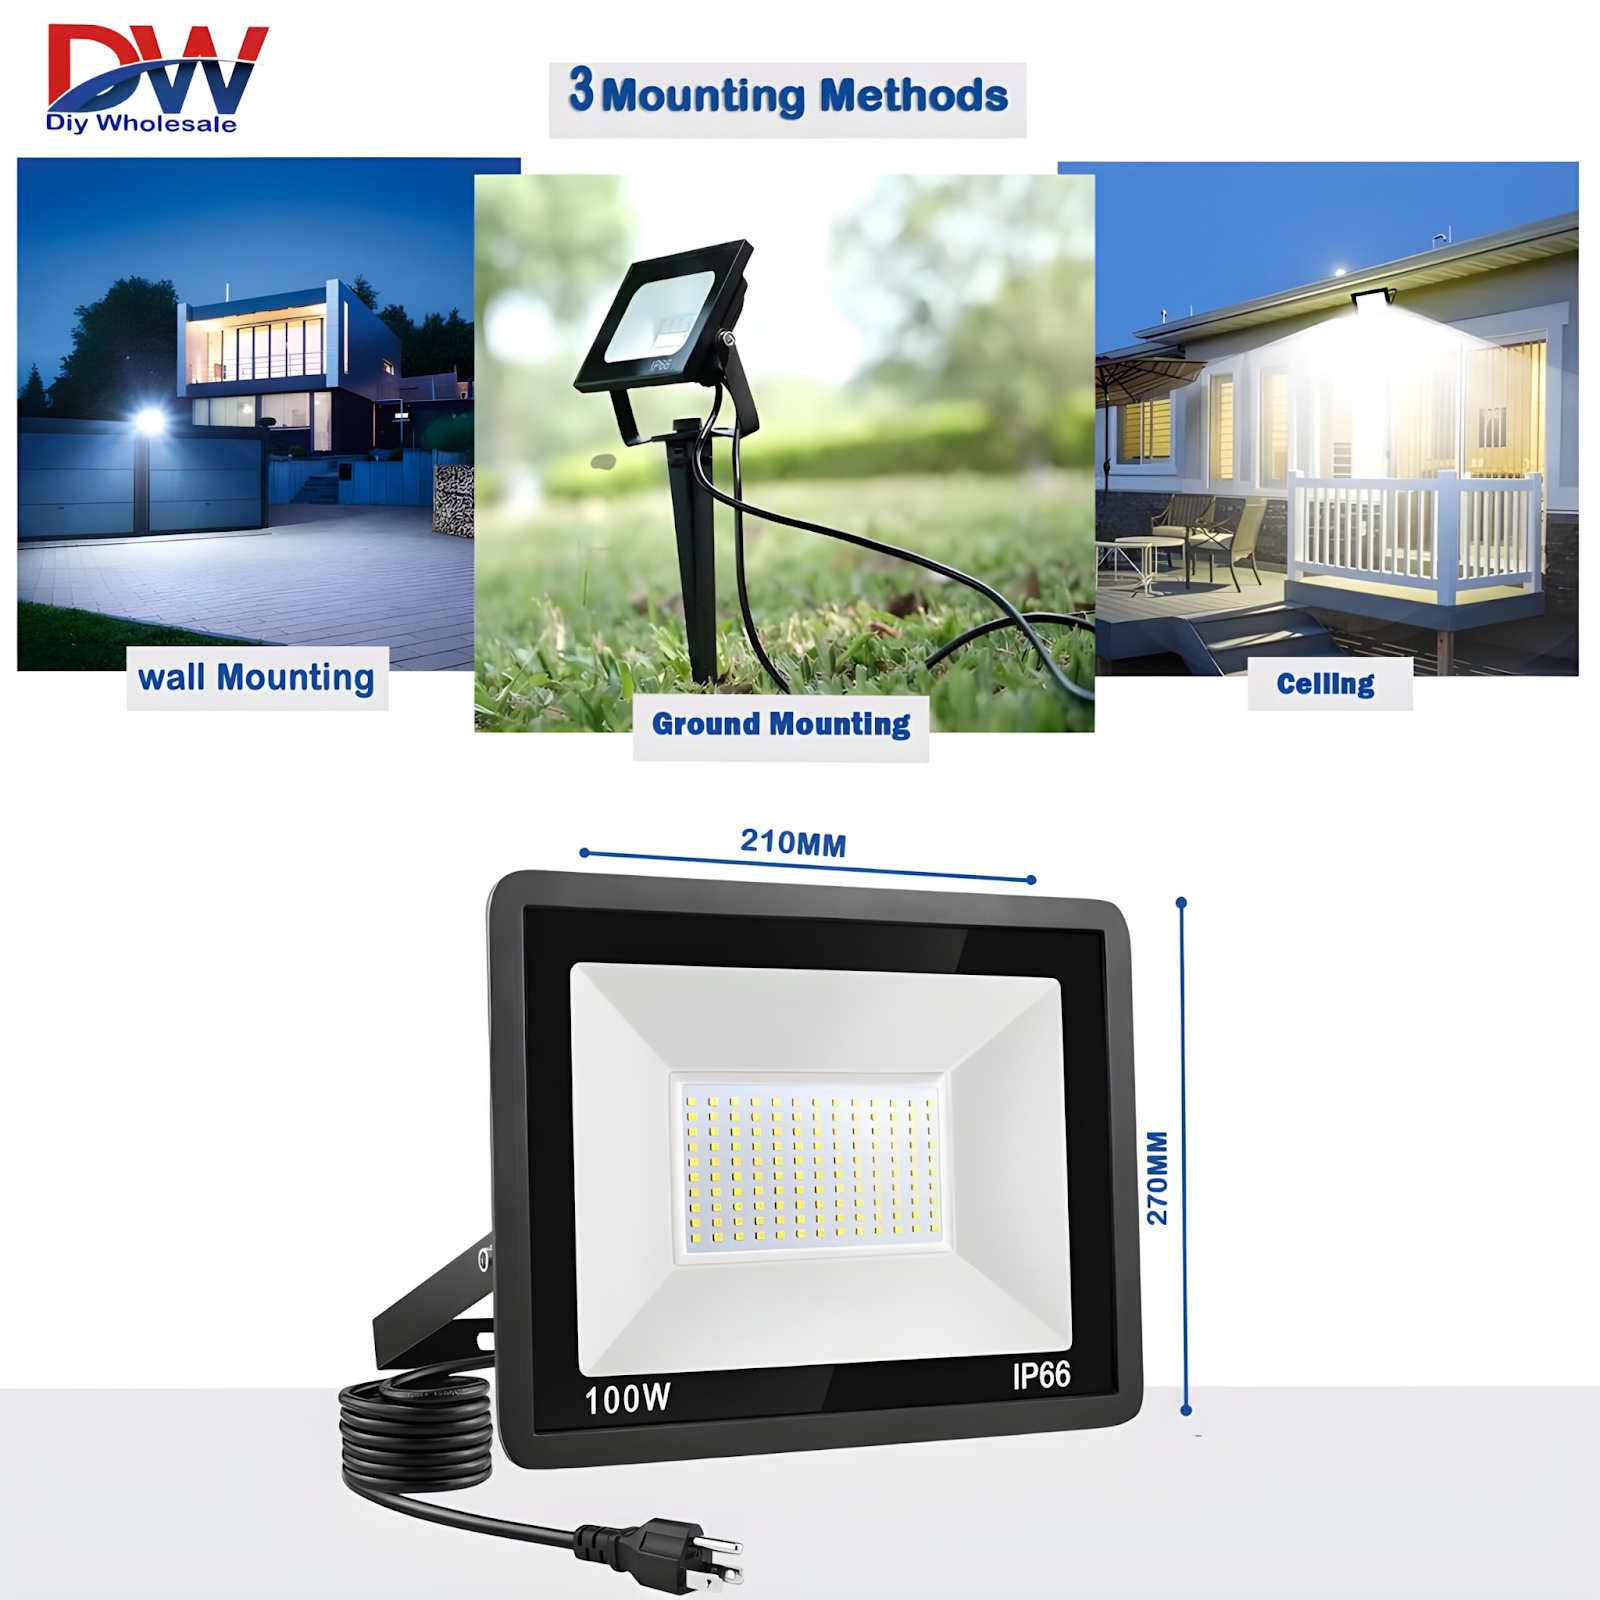
Step 2: Mounting the Floodlight Bracket
Using screws and a screwdriver, affix the LED floodlight’s mounting bracket to the chosen spot. After the floodlight is installed, make sure the bracket is level and firmly fastened to avoid any instability.
Step 3: Wiring the Floodlight
Pay close attention to the wiring guidelines that come with the LED floodlight kit. This usually entails attaching the floodlight’s wires to the appropriate wires in the electrical junction box. To make sure that no wiring is left exposed, use electrical tape and wire connectors to secure the connections.
Step 4: Adjusting the Angle
After the floodlight is firmly installed and connected, change the fixture’s angle to get the appropriate amount of lighting coverage. The majority of LED floodlights have adjustable vertical and horizontal axes for adjusting the beam’s angle and direction.
Step 5: Testing the Floodlight
After completing the installation, restore power to the lighting circuit and test the LED floodlight to ensure proper functionality. Verify that the light turns on as expected and that the brightness and coverage meet your requirements.
Practical Installation Advice
To ensure a successful installation, consider the following tips
- First Tip: Ensure Adequate Waterproofing
Seal the exposed wire and the mounting bracket with silicone sealant to keep moisture out and shield the floodlight from the weather.
- Tip No. 2: Making Wiring Connections Secure
Verify that all wiring connections are tight and appropriately insulated by checking them twice. Wires that are loose or exposed can be dangerous and affect how well a floodlight works.
- Tip 3: Verify That the Lighting is Appropriate
Conclusion
LED floodlight installation is an easy DIY project that can improve the security, safety, and appearance of your outdoor area.
You may easily accomplish a successful installation by following the detailed directions and practical advice provided in this article.
Bright, energy-efficient LED lighting will brighten your surroundings, and you’ll feel safer and more at ease knowing that your home is well-lit.
FAQs
Q: Should I employ an expert to install my LED , or can I do it myself?
Many people can do their own installation, but it’s important to know the fundamentals of electrical wiring and safety measures. It is important to seek advice from a certified electrician if you are unsure.
Q: Is LED floodlight appropriate for any outdoor setting?
LED floodlights are made to endure a variety of weather conditions, it is crucial to select models for outdoor use that have the proper IP (Ingress Protection) certifications.
Q: For what duration do LED floodlight usually last?
The typical lifespan of a LED is around 50,000 hours, which can vary based on climatic conditions and usage. Their longevity can be increased with regular care.
Leave a Reply