Table of content
- Introduction
- Understanding LED Batten Lights
- Benefits of LED Batten Lights
- Step-by-Step Installation Process
- Conclusion
Introduction
Are you considering upgrading your lighting to something more efficient and modern? LED batten lights might be just what you need. In this comprehensive guide, we’ll delve into everything you need to know about installing lights. From understanding the benefits to a step-by-step installation process, we’ve got you covered.
Understanding LED Batten Lights
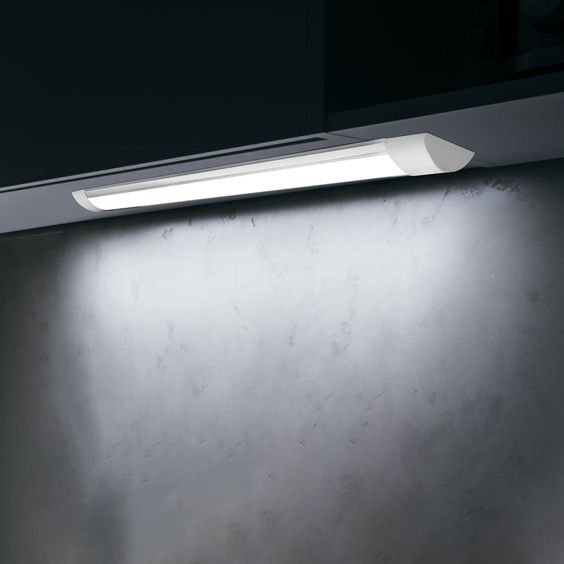
lights are slim, delicate fixtures that produce bright illumination while using little energy. Unlike traditional lighting solutions, lights have integrated LED bulbs that are noted for their durability and energy economy. Before we get into the installation method, let’s look at why LED batten lights are a great choice for your area.
Need tips on how to choose the right LED batten?
Here’s the full guide
Benefits of LED Batten Lights
- Energy Efficiency: LED technology uses much less energy than older lighting solutions, allowing you to save money on electricity costs.
- Longevity: LED lights last longer than incandescent or fluorescent bulbs, minimizing the need for frequent replacements.
- Brightness and Uniformity: LED batten lights provide bright, consistent lighting, making them suitable for a variety of applications ranging from residential to commercial.
- Eco-Friendly: LED lighting emits less heat and contains no hazardous materials such as mercury, making it ecologically friendly.
Pre-Installation Preparations
Before you begin the installation process, it’s crucial to gather all the necessary materials and ensure safety precautions are in place.
Materials Needed
- LED batten lights
- Mounting brackets
- Screws and anchors
- Wire strippers
- Screwdriver
- Electrical tape
- Voltage tester
- Ladder
Safety First
- Turn off the power to the area where you’ll be working.
- Use appropriate safety gear, such as gloves and safety glasses, when handling electrical components.
Step-by-Step Installation Process
Follow these detailed steps to install LED:
Step 1: Select the location.
Determine where you want to place the lights. Consider the room’s layout, the required illumination coverage, and any barriers or obstructions to the installation procedure.
Step 2: Mark the mounting points.
Mark the placements for the LED batten lights using a pencil or marker. Use a level to confirm that the markings are straight and aligned properly.
Step 3: Install the mounting brackets.
If your LED has mounting brackets, use screws and anchors to connect them to the ceiling or wall. Make that the brackets are properly secured and leveled.
Step 4: Connect the Wiring.
To connect the wiring for the LED, carefully follow the instructions provided by the manufacturer. Typically, this entails removing the insulation from the wires, matching their colors, and fastening them with wire nuts or terminal blocks. Use electrical tape to protect any exposed wires and provide a secure connection.
Step 5: Mount the LED Batten Lights.
Once the wiring is in place, gently install the LED batten lights over the mounting brackets. Secure the lights to the brackets with the screws or clips provided by the manufacturer. Double-check that the lights are level and firmly fastened.
Step 6: Test the Lights
Once the LEDs are installed, restore power to the circuit and test the lights to ensure they’re functioning correctly. Use a voltage tester to verify that there’s power running to the lights and that they illuminate as expected.
Step 7: Make adjustments.
If required, make final modifications to the LED’s location or alignment. Once you are pleased with the installation, remove any dirt or packaging materials and enjoy your newly lighted room!
Expert Tips for Success
- Measure Twice, Install Once: Take accurate measurements and double-check all dimensions before drilling or cutting to avoid costly mistakes.
- Seek Professional Assistance: If you’re unsure about any aspect of the installation process or encounter unexpected challenges, don’t hesitate to seek assistance from a qualified electrician or contractor.
- Safety First: Always prioritize safety when working with electricity. Turn off power to the area, use proper safety equipment, and follow all recommended safety precautions to prevent accidents and injuries.
Conclusion
With these additional steps and expert tips, you can ensure a flawless installation of LED batten lights that enhance the functionality, efficiency, and aesthetics of your space. From proper ventilation to decorative accents, every detail contributes to a successful lighting project. Illuminate your surroundings with confidence and enjoy the benefits of LED technology for years to come!
Leave a Reply