Introduction
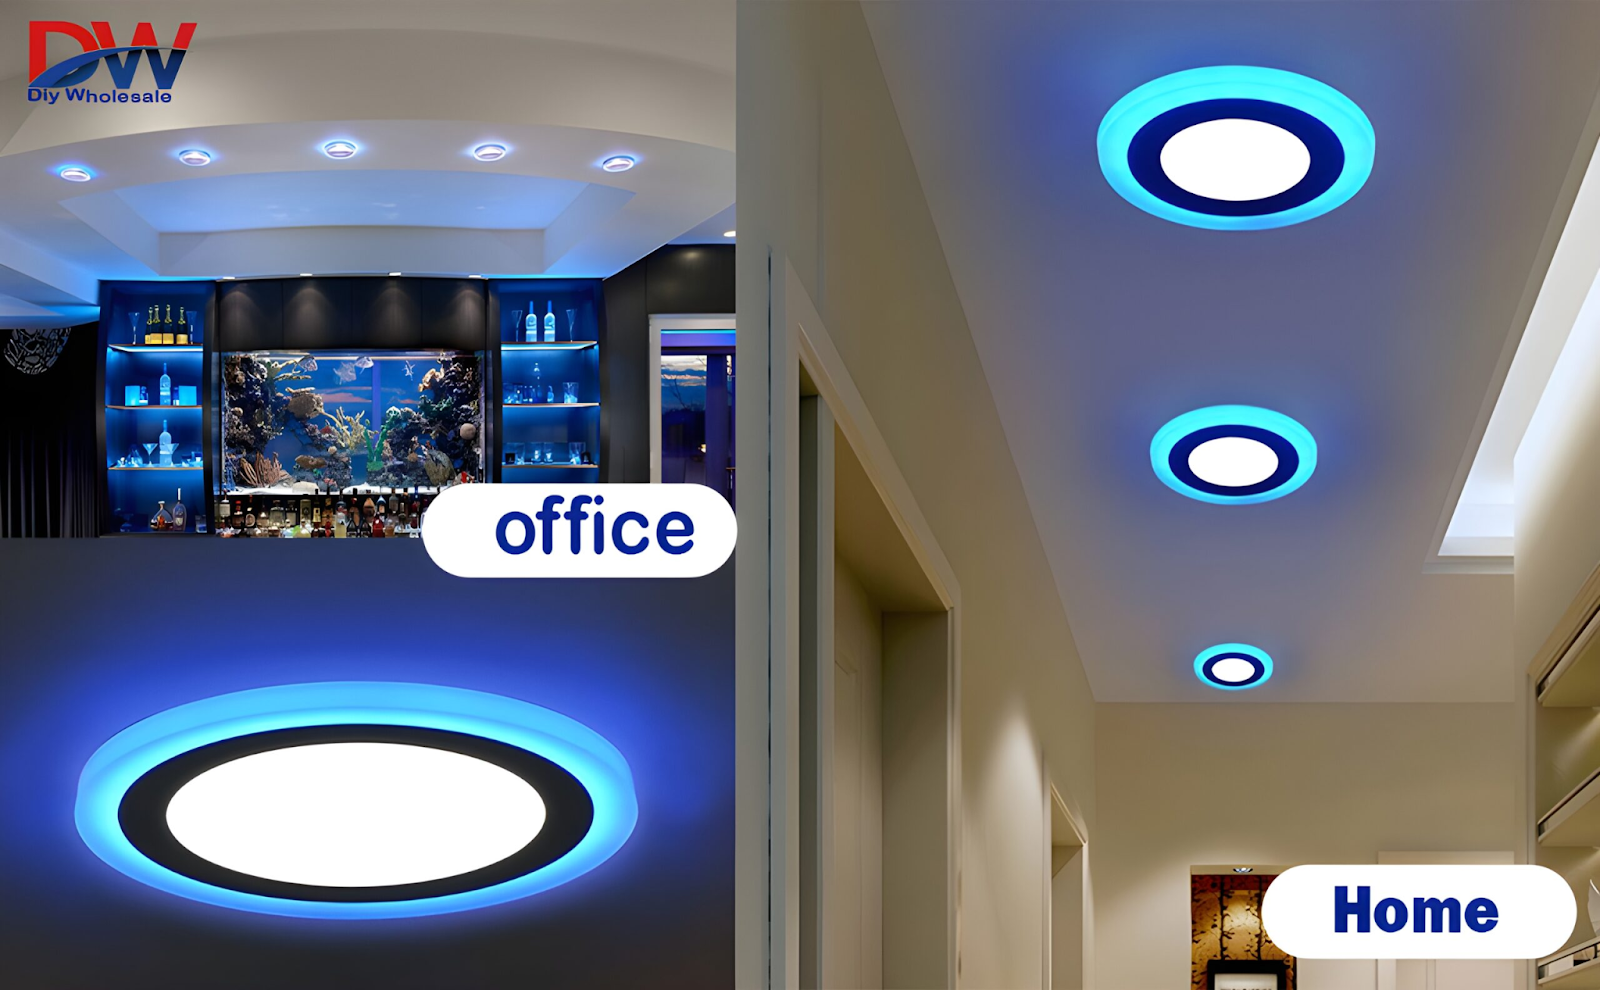
For efficient and effective lighting in your home or office, you need to have a properly working led panel light 3w.
In order to replace a led panel light 3w safely while maintaining its function, this guide is here for you.
For example, follow these procedures so that you can maintain an effective lighting system.
What You’ll Need?
Before proceeding, ensure that you have the following:
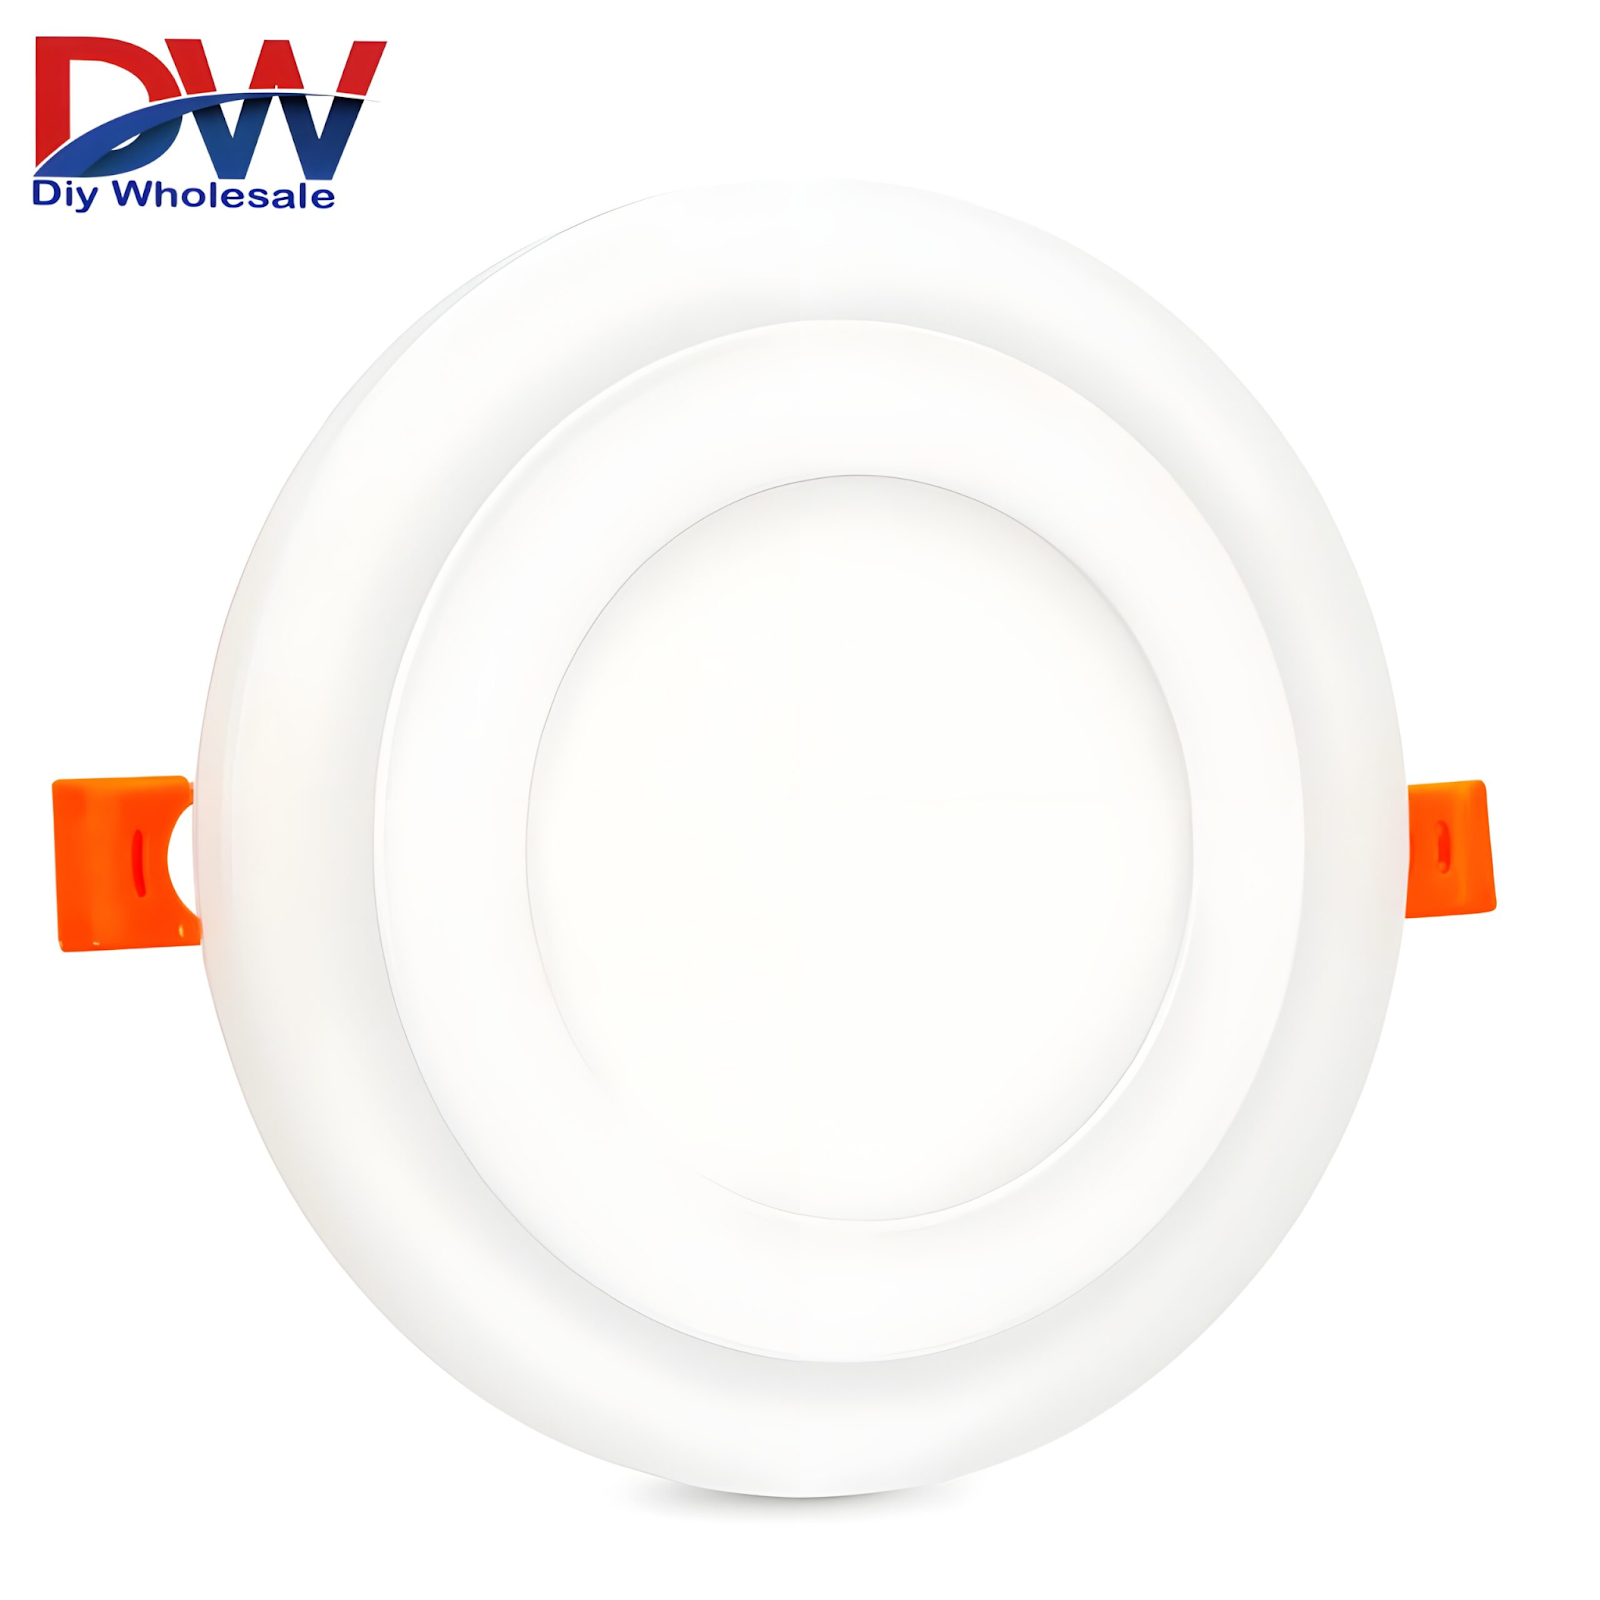
- A New led panel light 3w
- Phillips or Flathead Screwdriver
- Wire Strippers
- Voltage Tester
- Electrical Tape
- Safety Gloves
- Step Stool or Ladder
Step 1: Prioritize safety
- Switch Off Power:
First find the circuit breaker and then switch off the power supply of the bulb. You can use a voltage tester to ascertain this.
- Put on Protective Clothing:
Ensure that when working on such a ladder and there is electricity involved your legs are covered with gloves since they might be dangerous.
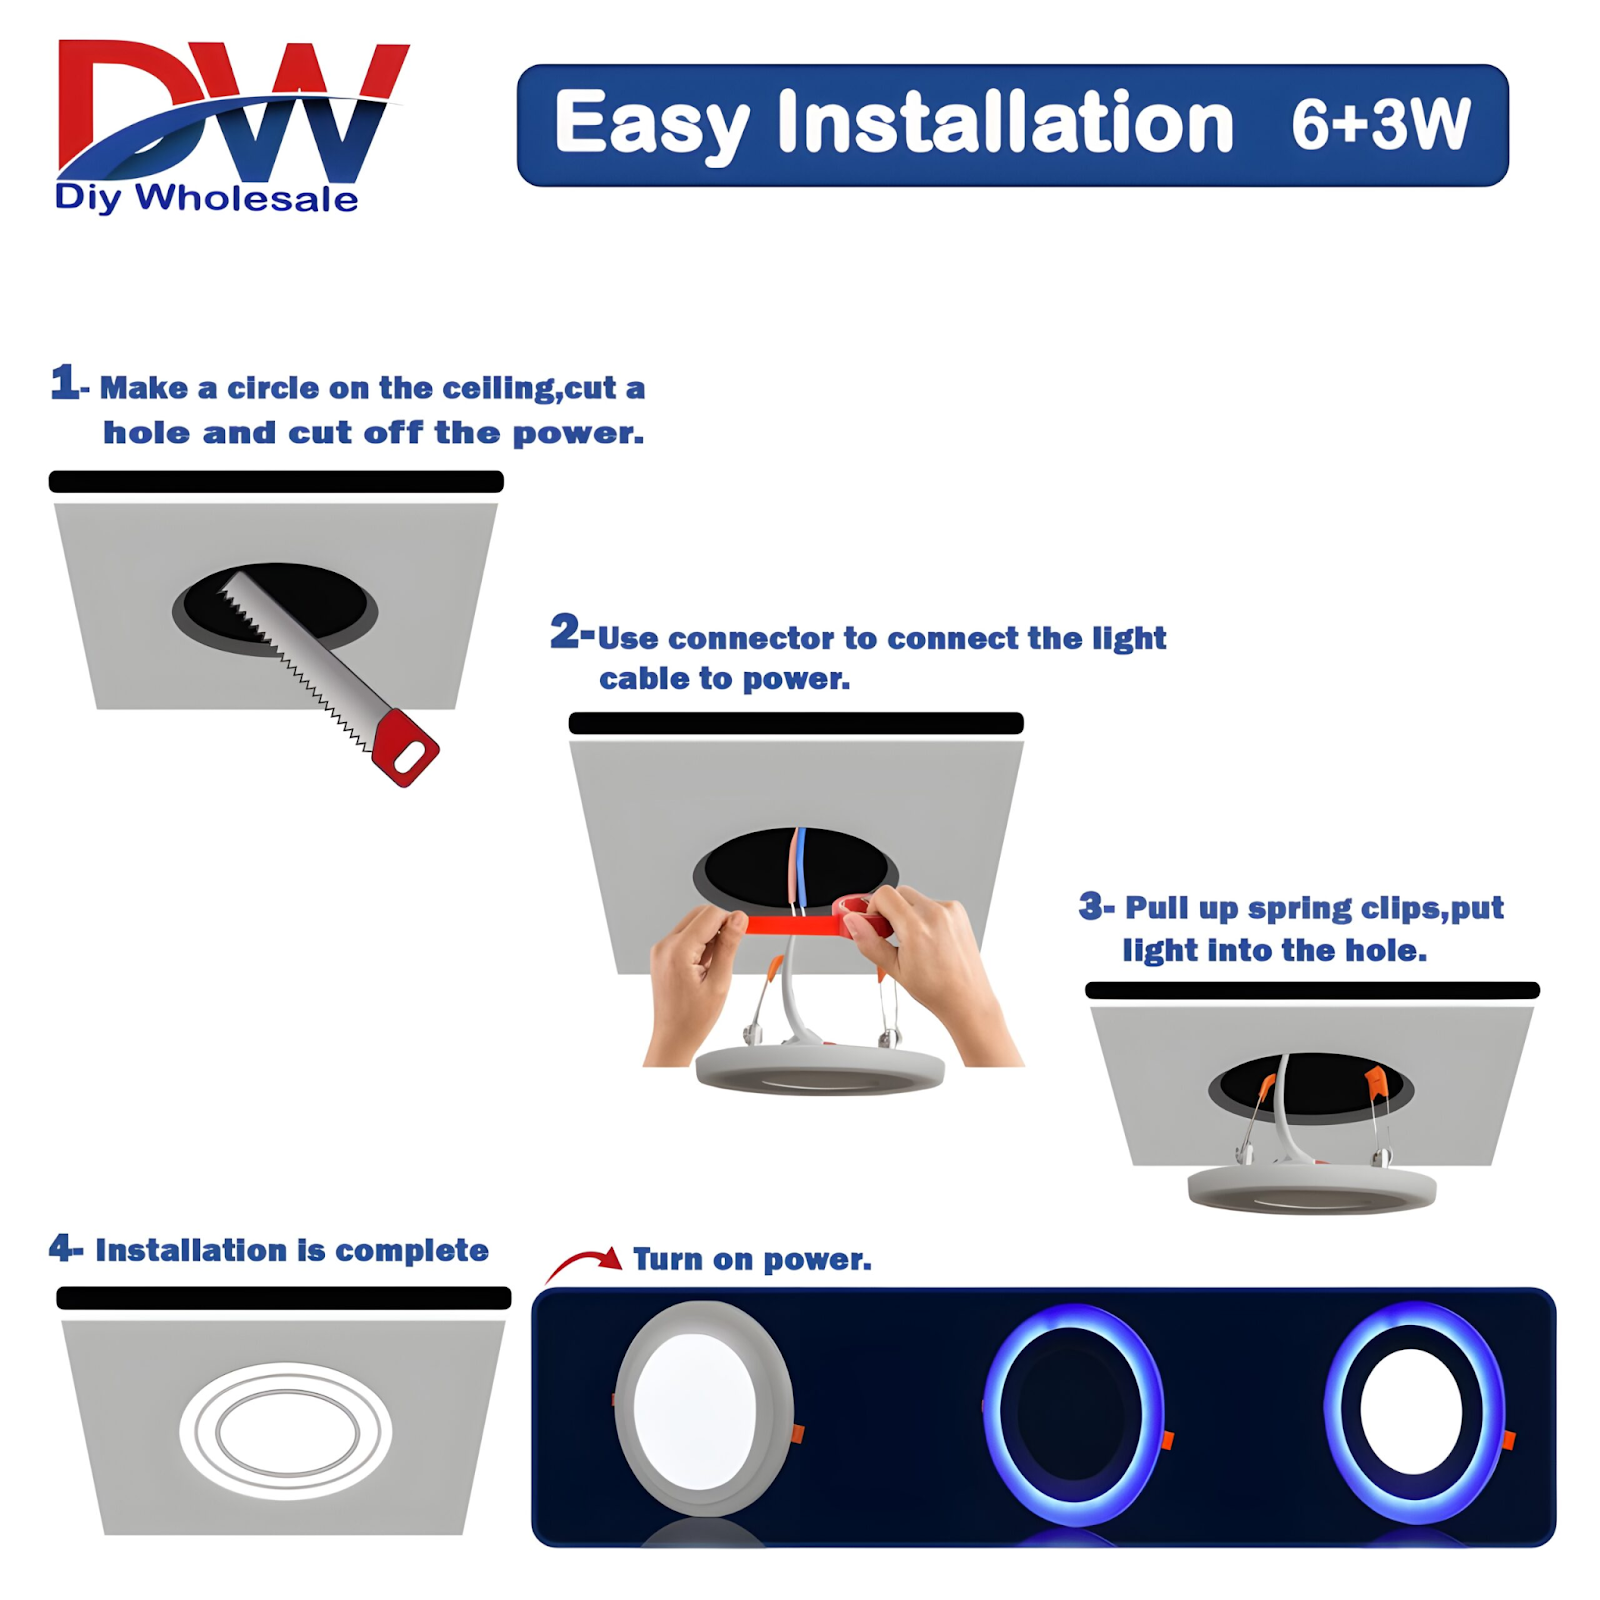
Step 2: Remove Old LED Panel Light
- Gain Access into Fixture:
Softly remove any covering or trim around it. If necessary just unscrew screws holding the cover tightly using a screwdriver.
In addition to that, before you do this, be sure to disconnect the power supply again by cutting the wires and checking for no electrical currents using a voltmeter.
Moreover, carefully cut the cables connecting the old LED panel light to the electric box.
Consequently, take note of how the wiring was done since when reassembling it; one might quickly get confused.
As well as that, if wire nuts are being used to hold the wires in place, get rid of them and set them aside.
For you to remove that old led panel light 3w from its fixture either unscrew or unclip it. When it gets stuck, wiggle it gently so that it can come loose.
Having done that you will need to put it somewhere safe without spoiling anything around or damaging its holder.
Step 3: Install New LED Light Panel
- Inspect the New Light
Match its specifications with those of your previous source of light in order to maintain consistent lighting throughout your home.
In addition make sure that the new lighting is compatible with respect to wattage,rating,dimensions and color temperature.
- Prepare Wires
Strip if not already stripped from new led panel ends . Choose wires whose lengths will reach into an electric box using these lamps. Normally all you need is just about 1/2 inch showing copper wire for solid connection.
Install the New LED Panel Light as Step Four
- Connect the Wiring:
Acquire the new LED panel light’s cords to a junction box while being careful.
Give them colors (usually white to white, green or bare copper to ground wire, and black to black) Wrap all connections with electric tape then fasten firmly with wire nuts for extra safety reasons.
Ensure there is no exposed wiring that can cause short circuits.
- Attach the Light
Insert the new led panel light 3w into its fixture using screws or clips. Firmly ensure that fixture is in position, but be careful not to over-tighten screws since they could damage it.
Secure any mounting brackets or back plates that accompany the lamp before you install it.
- Replace the Cover
Reinstall any trim or covering which was removed earlier and ascertain that it is properly attached.
Clean diffusers on any covers with them before reinstalling them so as to maintain maximum light output.
Step 5: Test the New LED Panel Light
- Restore Power: Flip the circuit breaker back on.
- Test the Light: Make sure it is working correctly by turning on the light. If no light appears, check electrical connections and ensure that fixture is properly positioned.
- Continue to use a multimeter to confirm energy supply to the fitting and test for continuity if nothing changes.
PRO TIP: Adjust as Needed – Ensure all connections are intact and turn off power again if new LED panel light flickers or fails to glow properly; effectuate any necessary adjustments; call in a qualified electrician such as Brightex , or consult manufacturer’s troubleshooting manual if problem persists.
Advice on maintaining your led panel light 3w
Regularly dust and clean LED panel light in order to maintain maximum brightness and efficiency. Use a mild, dry towel gently wiping its surface without staining it. Avoid any hard items or chemicals that can spoil the light.
Check Connections: Routinely check wire connections for secure, corrosion-free and undamaged sense. Flickering or intermittent functioning could be due to loose connections.
Track Performance: Observe how well the LED panel light is operating. If you notice any flickering or dimming then it might be time to inspect or replace the lamp. Despite having a longer lifespan than normal bulbs, exposure to hot climates or power surges may shorten this.
To maintain maximum brightness and efficiency, dust and clean the led panel light 3w on a regular basis. Use a gentle, dry towel to gently clean the surfaces.
To prevent overheating and damage to your led panel light 3w, avoid overloading the electrical circuit with high-wattage equiipment. If necessary, use a separate circuit to power numerous lights.
To maximize energy efficiency, use suitable LED drivers and dimmers for your led panel light 3w. This can assist you save energy and extend the life of your lighting system.
Conclusion
Following these precise instructions and maintenance advice will allow you to securely replace led panel light 3w while also maintaining an efficient lighting system.
Maintaining proper lighting not only improves visibility but also helps to energy savings and fixture longevity.
Leave a Reply